- TOSIZE.it
- Do it yourself
- DIY Projects
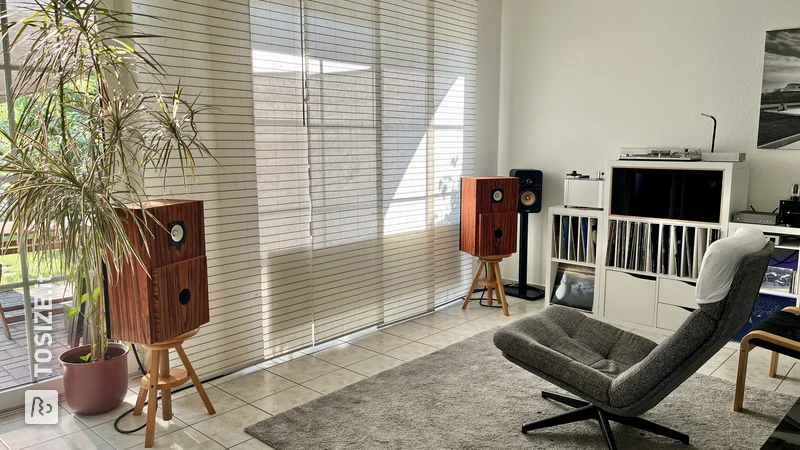
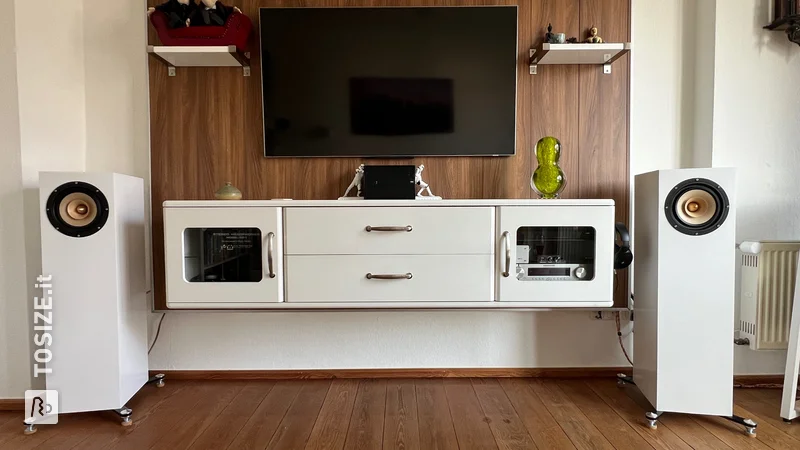
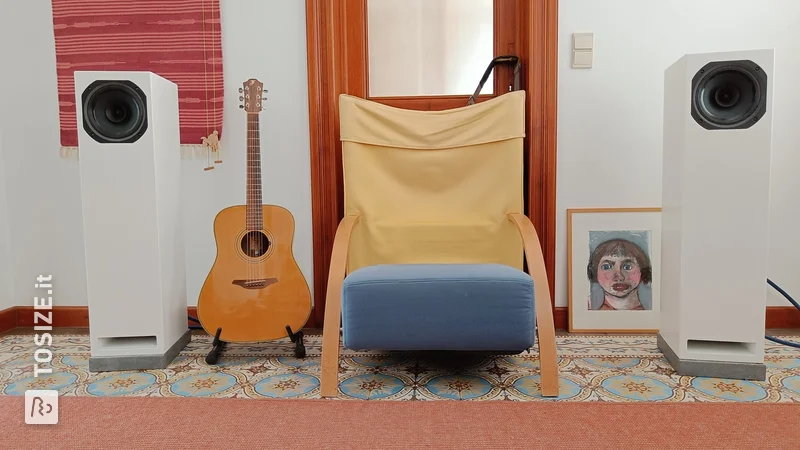
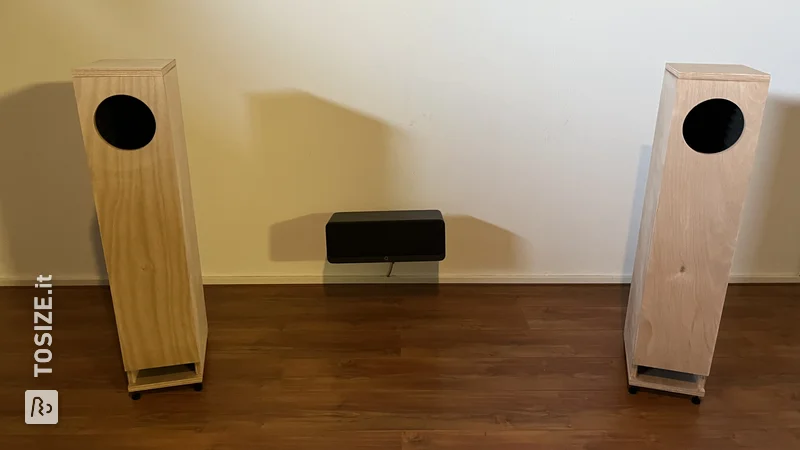
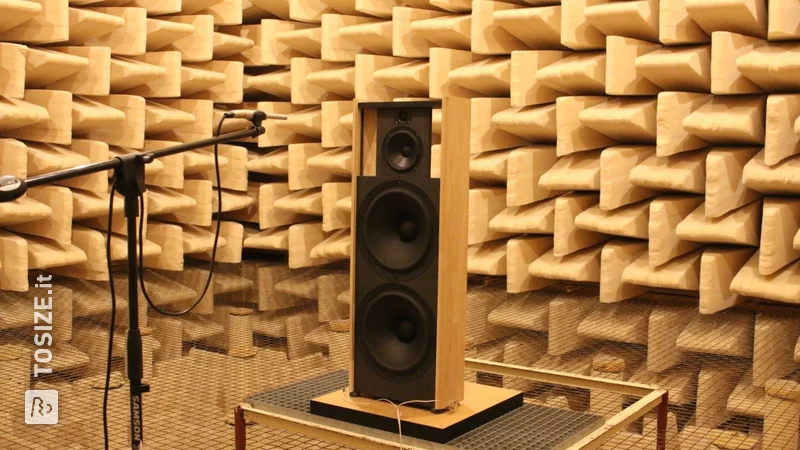
Le Petit HiFi loudspeaker after Jean Hiraga, by Thomas
Le Petit HiFi loudspeaker after Jean Hiraga, by Thomas

Create this project yourself with sheet material cut to size by TOSIZE.it!
Thomas
Above average
5 minutes
In this project, Thomas shares his experience in building impressive DIY HiFi speakers based on Jean Hiraga. Find out how he implemented this project and get inspiration for your own audio projects. Thomas' expertise in speaker construction can give you valuable insights into the world of self-built high-fidelity audio.
Description by Thomas
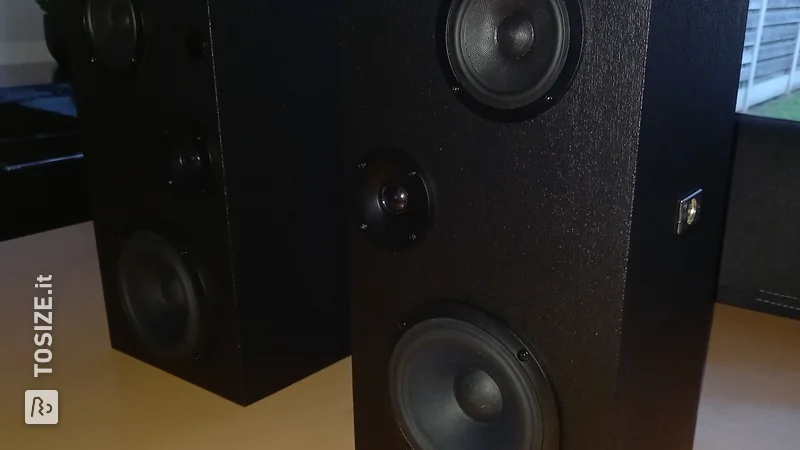
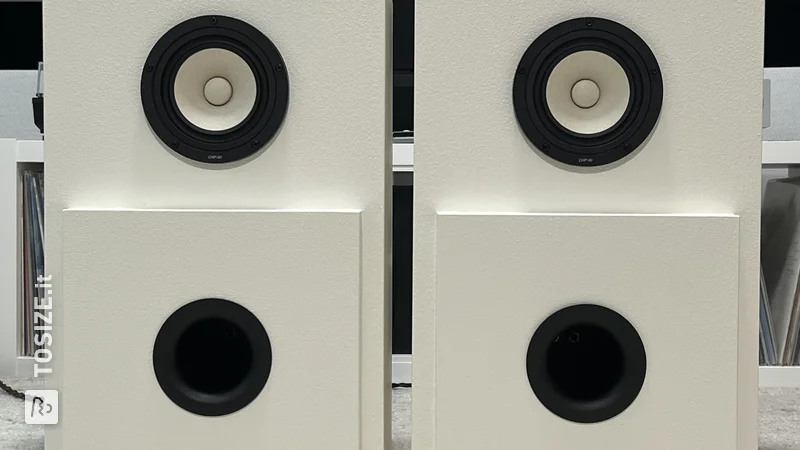
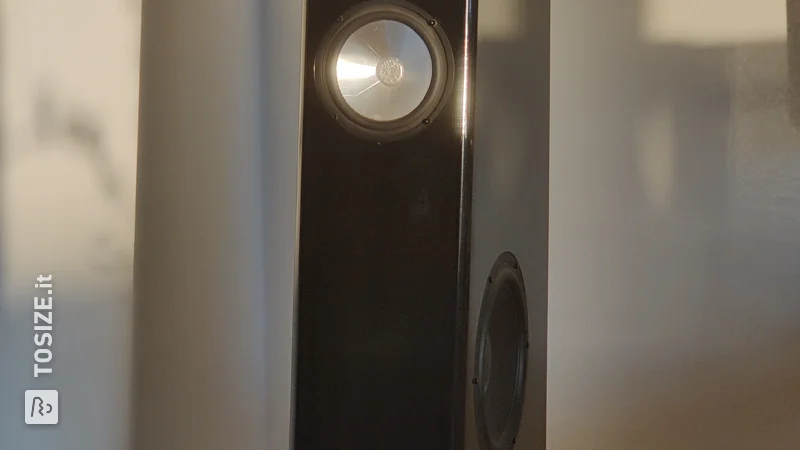
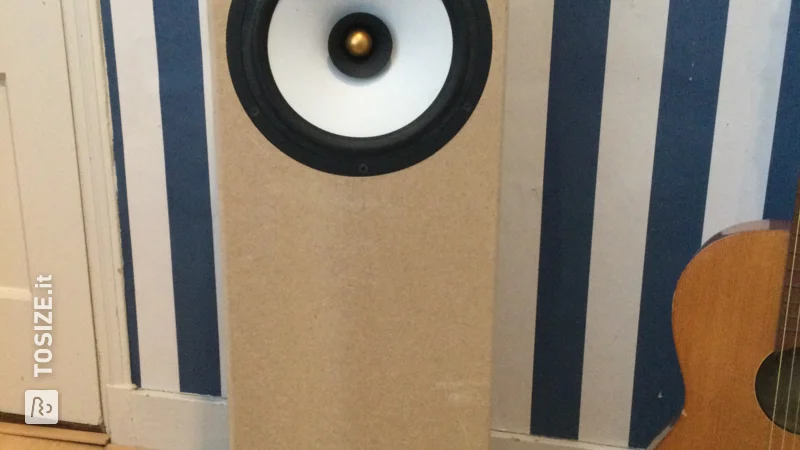
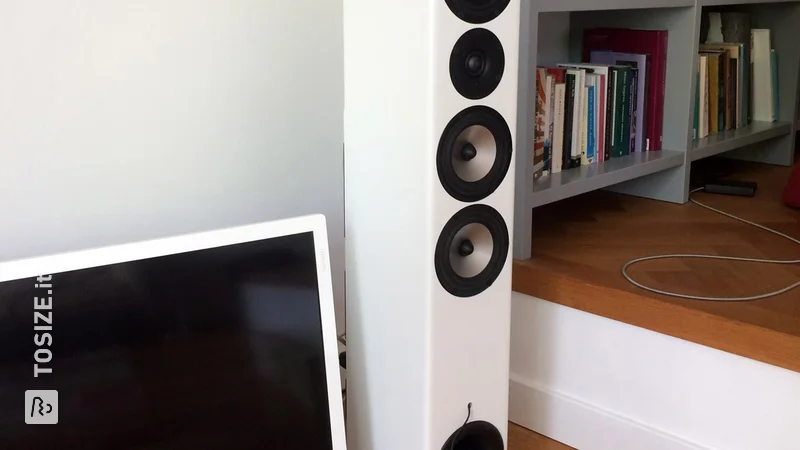
The pair of speakers is particularly suitable for curious people who want to build an excellent-sounding speaker using the simplest means and without frequency separation (2 or 3-way speakers). The speakers were developed by Jean Hiraga, who at the time developed the Le Petit, a DIY speaker that offers the highest level of sound but requires a minimum of cost and craftsmanship. The main component and certainly the most expensive components are the speaker chassis (Fostex FE 103). I also tested an alternative that I can absolutely recommend and is unbeatably cheap (Visaton FR 10HM-8). Which definitely has to be mentioned. The LePetit have a very high efficiency. This means that they can cope with very little wattage (max. 25W) and quickly burn out with very powerful amps. Tube amplifiers probably sound best. In any case, the speakers are very critical to the amplifier and the simpler the amplifier the better!
How I made this project
Material
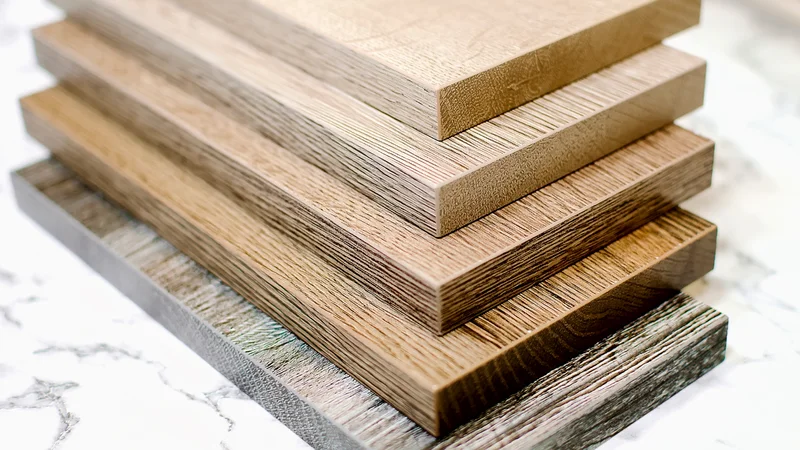
- MDF boards, see shopping cart
- 2 bass reflex tubes with a diameter of 70mm and a length of 130mm
- 2 square meters of pond flow, with a density of 1500 g/m2 (important!)
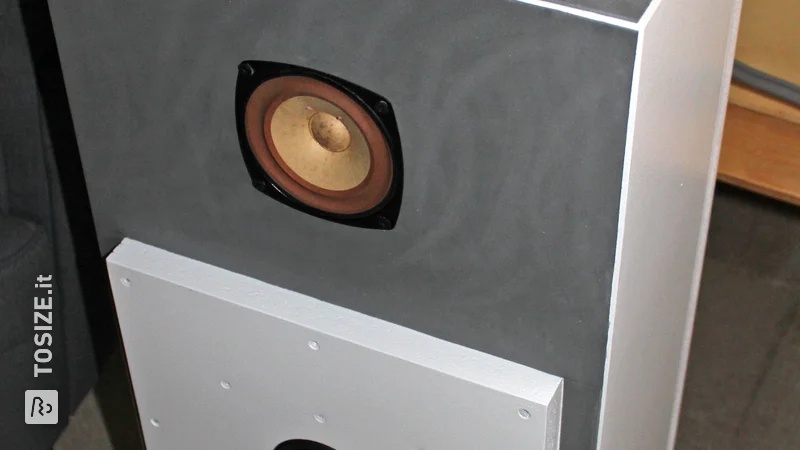
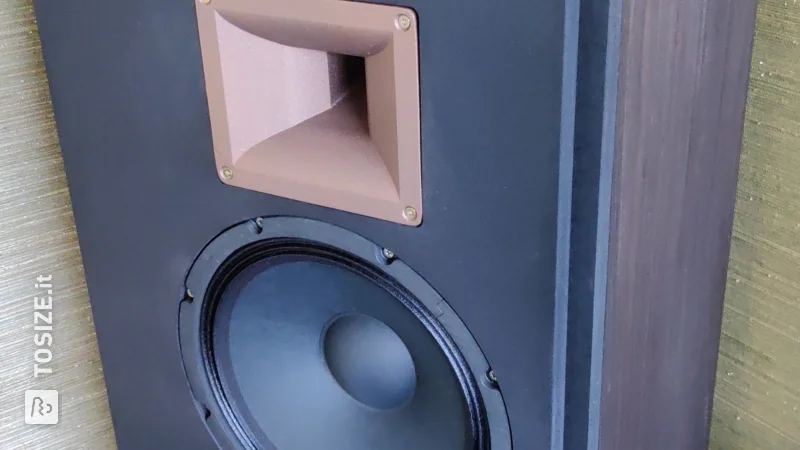
- Fostex Fe 103 or Visaton FR 10HM-8
- Speaker cable
- Cable clamps
- 4 connection terminals
- Spax screws
- Wooden strips (for screwing the rear wall)
- Newspaper Tools:
- Drill or cordless screwdriver
- Hole saws (70mm and 95mm)
- Wood rasp (Semi-circular)
- Sandpaper
- Wood glue
- 3 screw clamps with 60cm length
- Folding rule, 30cm ruler, right-angled set square, pencil, sharpener, eraser
- Scissors
- 4mm wood drill bit
- Paintbrush
Step by step
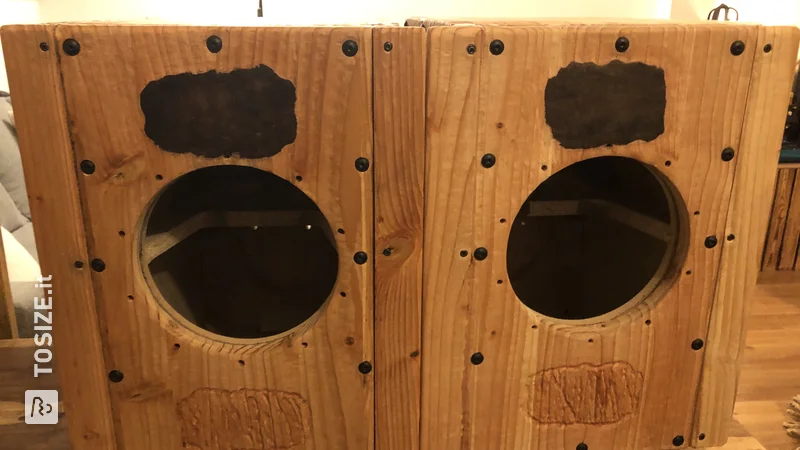
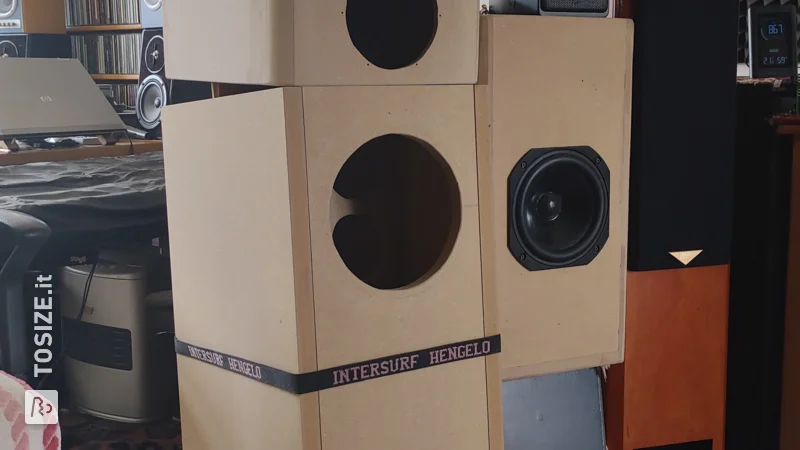
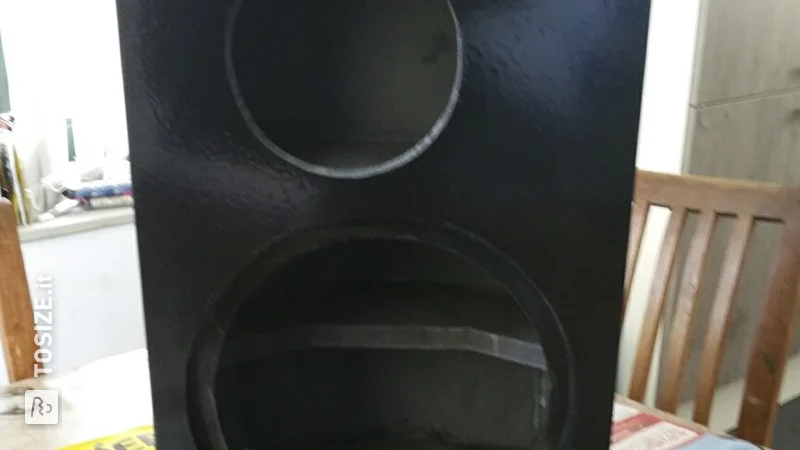
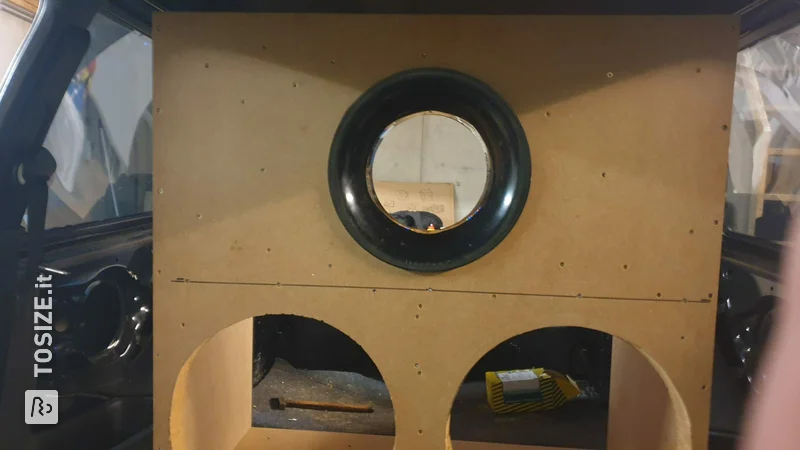
Step 1: (Marking all dimensions and holes) - Mark the dimensions and position of the holes from the construction plan on the wooden cuts of the front (54.6 x 35.2 and baffle (30x30).
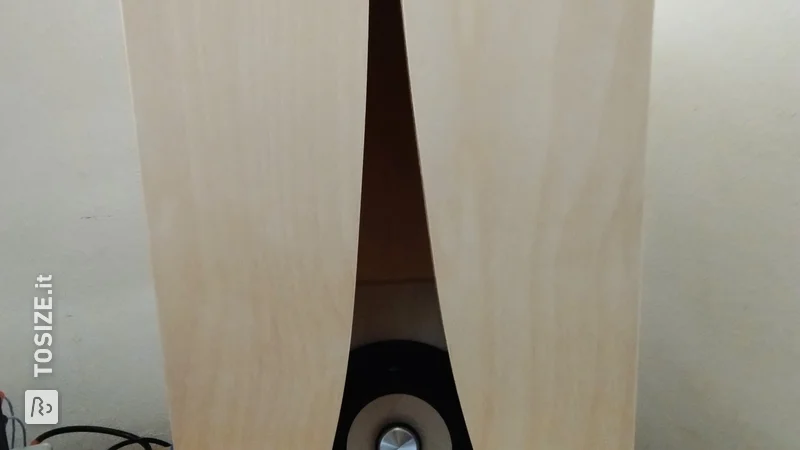
Step 2: (Drilling the holes) - Use the hole saws to cut the holes for the loudspeaker chassis and bass reflex tubes - On one of the two sides, the edge of the hole for the loudspeaker chassis must be filed round so that the sound can reach the inside of the housing better and more evenly can.
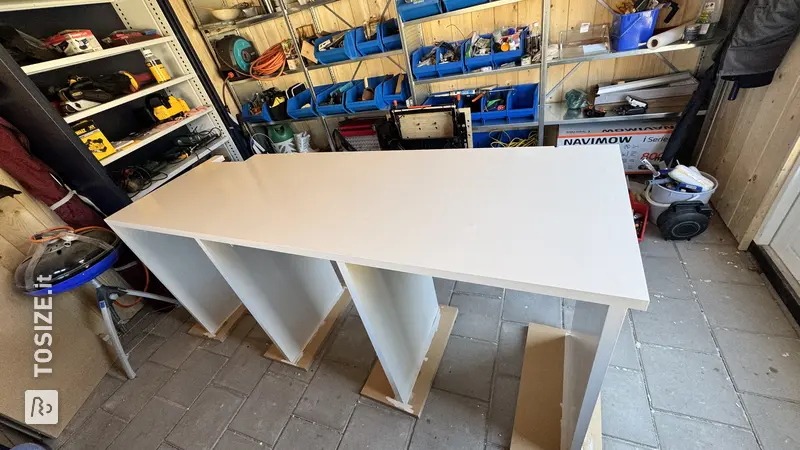
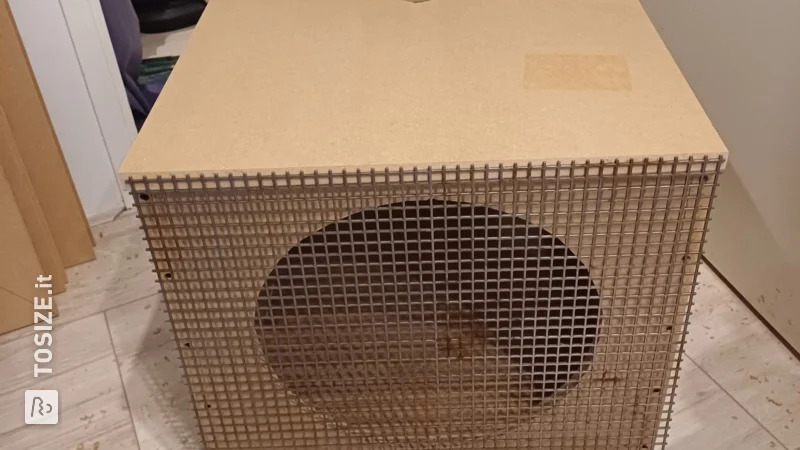
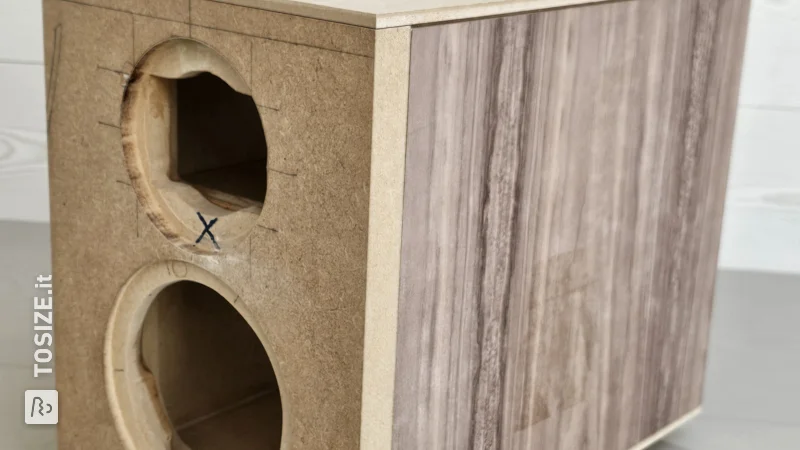
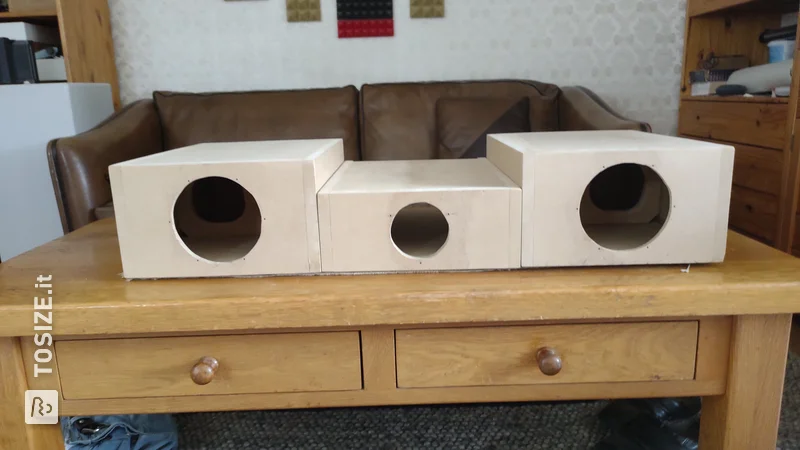
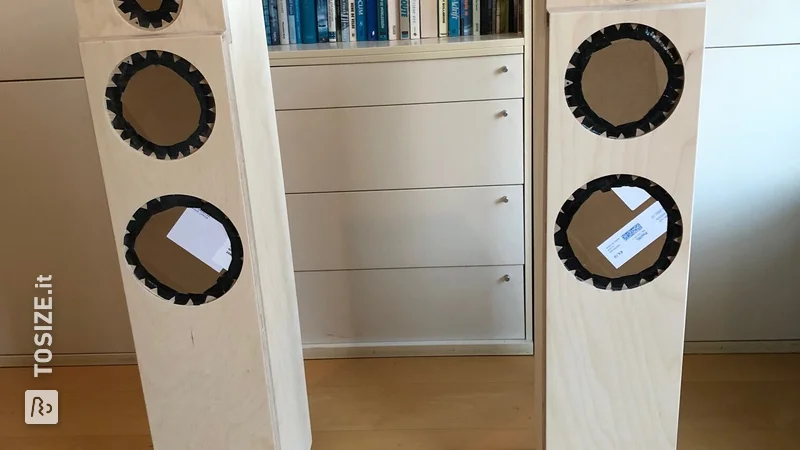
Step 3: (Cutting and gluing the fleece for the inside) - Marking the later gluing points for the front, sides, top and bottom sections of the speaker - The speaker parts are glued together at the marked points and must remain free of lint. - The fleece must be cut very precisely and without gaps. This means that it should lie everywhere and without gaps on the inside of the box. - Once the fleece for all parts has been cut to size, the wood glue can be spread over the wooden surfaces of the speaker parts with a brush and the fleece can then be applied. The fleece should be pressed until the glue dries (see photos)
Step 4: (Gluing the walls) - After the table has been covered with newspaper, the walls are glued together and clamped together using the screw clamps. I did not glue the back wall because I wanted to screw it on later so that I could possibly get to the inside. For this I attached wooden strips to the inside to screw the back panel onto. - Before removing the screw clamps you should wait at least one night so that the glue can dry properly
Step 5: (Remove the screw clamps and sand the glued areas) - Once the screw clamps have been removed and the glue has dried, the glue residue can be sanded away with sandpaper (if you have a sander you can use that too ;-) ). This also applies to any protruding wood.
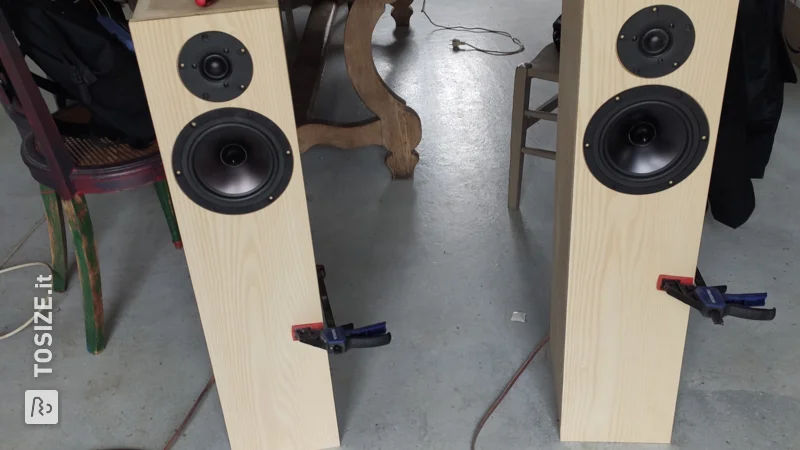
Step 6: (Glue on the baffle) - The baffle can now be glued on and pressed into place with screw clamps and weights (books or water bottles)
Step 7: (Screw in the connection terminals) - The two poles of the connection terminals must be drilled into the back panel at a suitable point. They are the connection between the speaker cable and the chassis. - To do this you have to find a suitable point (in my case it was the top middle) and mark it. - I then drilled the holes using a size 4 drill and screwed in the poles. Then I soldered on short speaker cables that reach as far as the chassis.
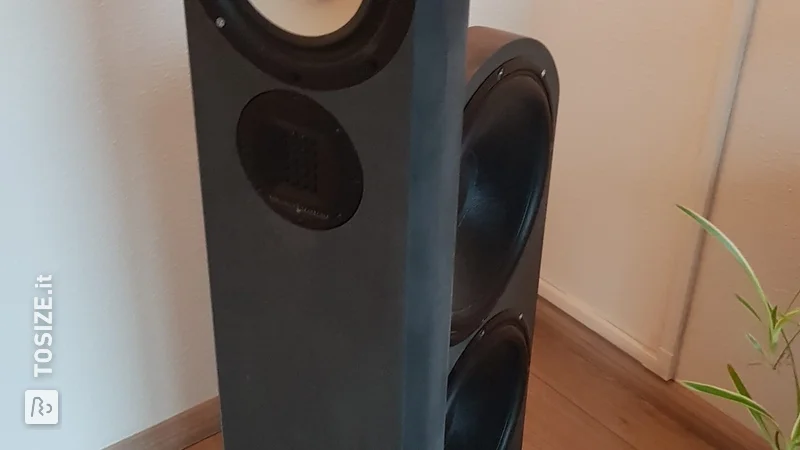
Step 8: (Screwing on the back panel and attaching the chassis) - Once the internal cables have been soldered to the poles of the connection terminals and the back panel has been screwed on, the chassis can be installed. To do this, I clamped cable clamps to the unsoldered ends of the internal cables and plugged these into the chassis (pay attention to the polarity). Then the chassis is screwed to the front (don't screw it on too tightly).
Step 9: (Attaching the bass reflex tube) - I shortened the bass reflex tube a little so that together with the front thickness (2.5cm) and the baffle thickness (2.5cm) it comes to a total of 13.9 cm - I was able to press the bass reflex tubes into the opening by hand. It held so well that no further trouble was necessary. Finally, it remains to be seen whether the finished speakers should be painted, veneered or sealed. I left them in their raw state for now. Have fun listening and experimenting. Oh yes, there are also videos on the subject on YouTube and online. Just enter Le Petit or Jean Hiraga.
Dimensions of my DIY project
Height 54.6Width 35.2Depth 22.7
Tip! Also check out our handy DIY tips!
What now?
Want to make this DIY project? Check out Thomas's saw list and complete your order easily.
102,62 €
All materials used
View all sheet materials