- TOSIZE.it
- Do it yourself
- DIY Projects
Modern radiator conversion for the living room, by Rob and Martijn
Modern radiator conversion for the living room, by Rob and Martijn
Create this project yourself with sheet material cut to size by TOSIZE.it!
Martijn
Easy
2 minutes
Description by Rob and Martijn
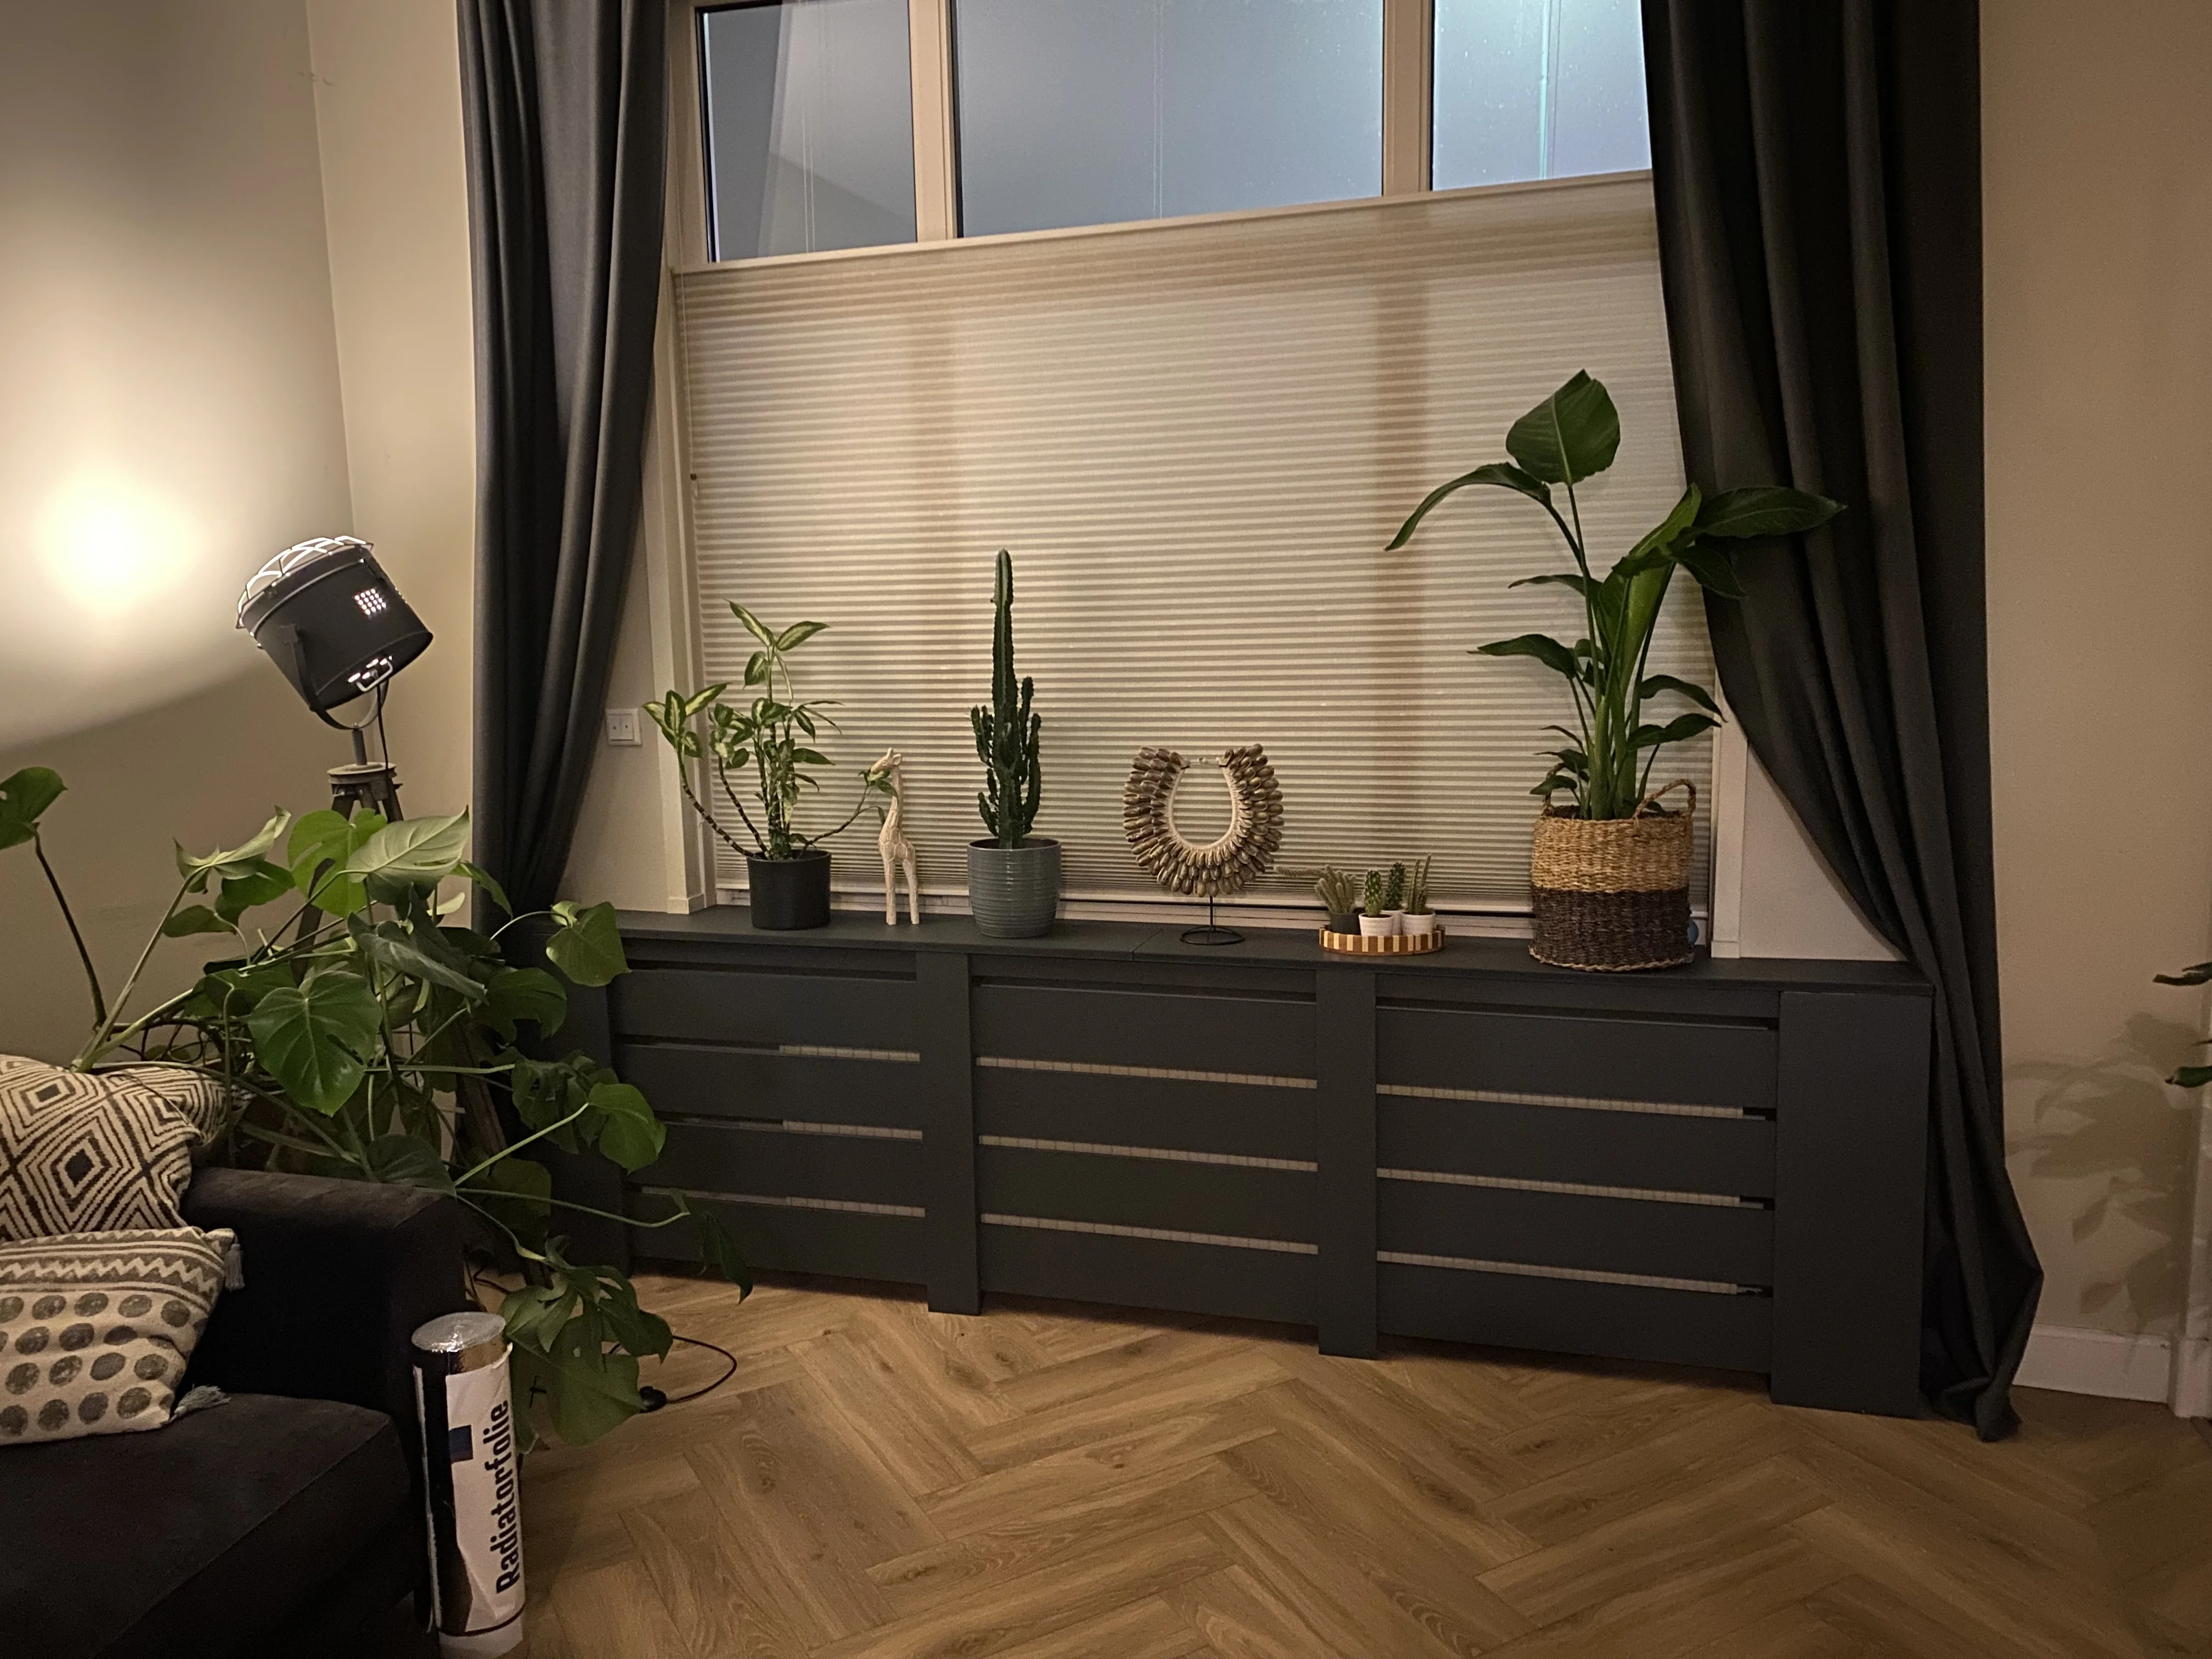
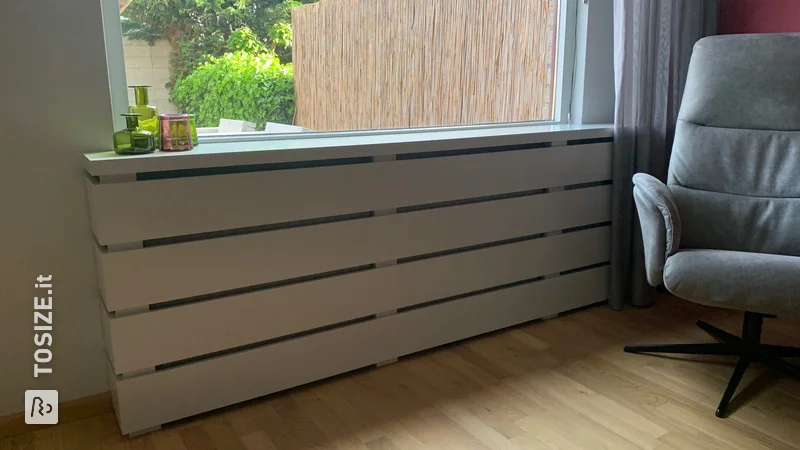
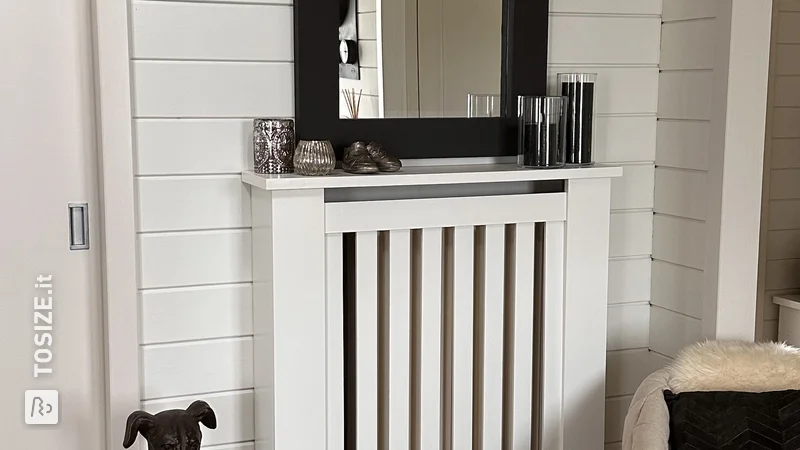
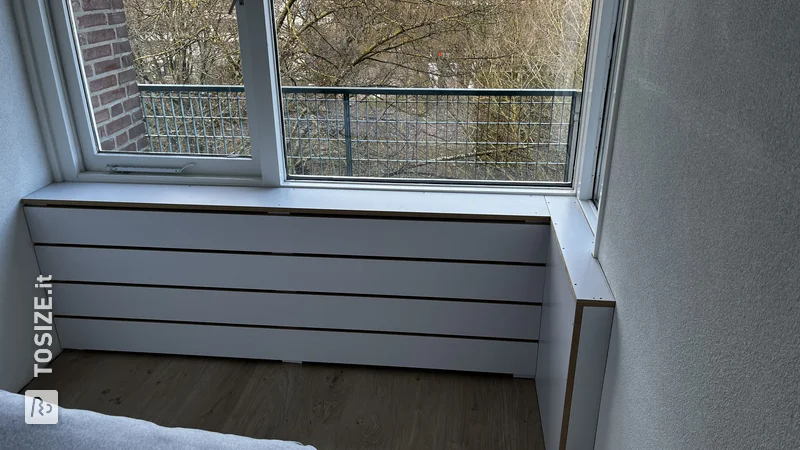
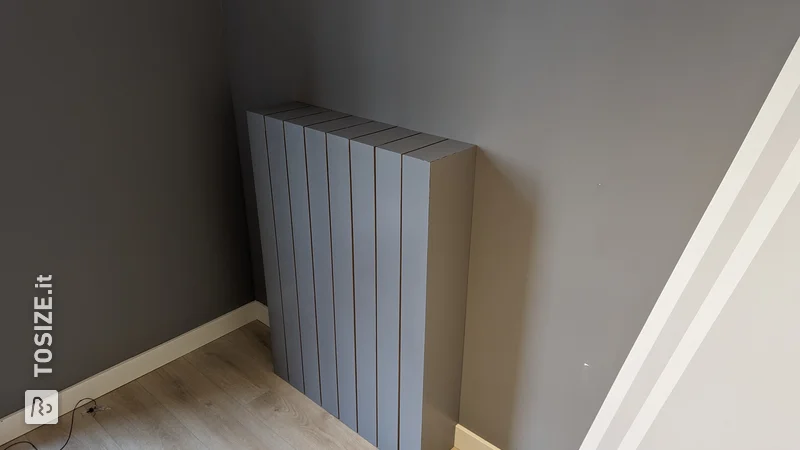
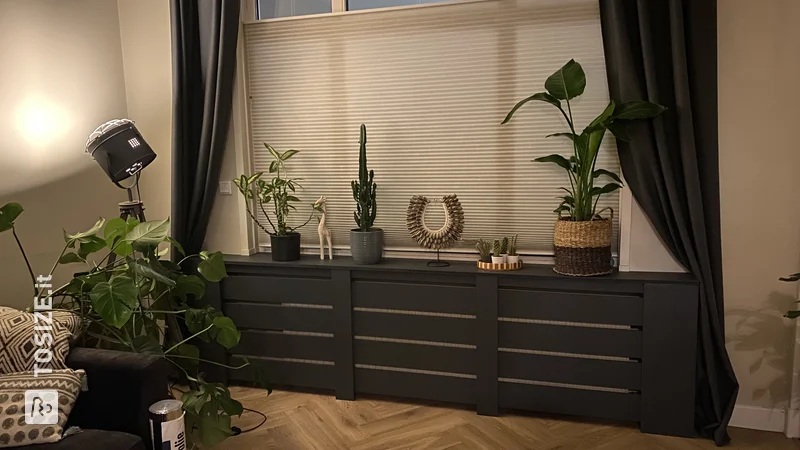
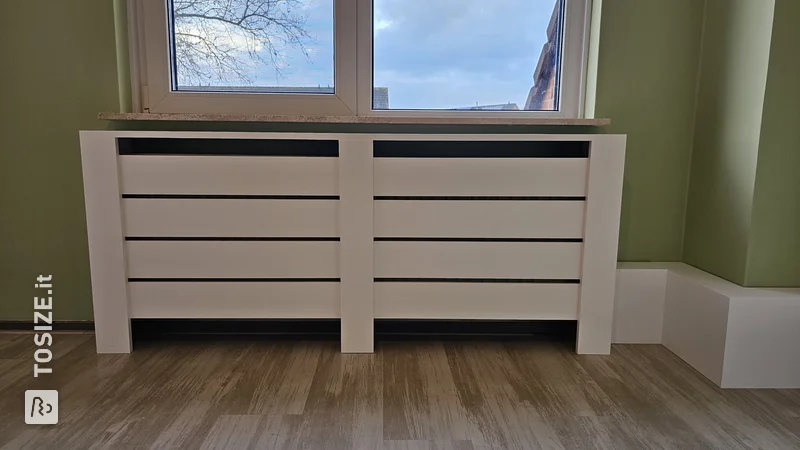
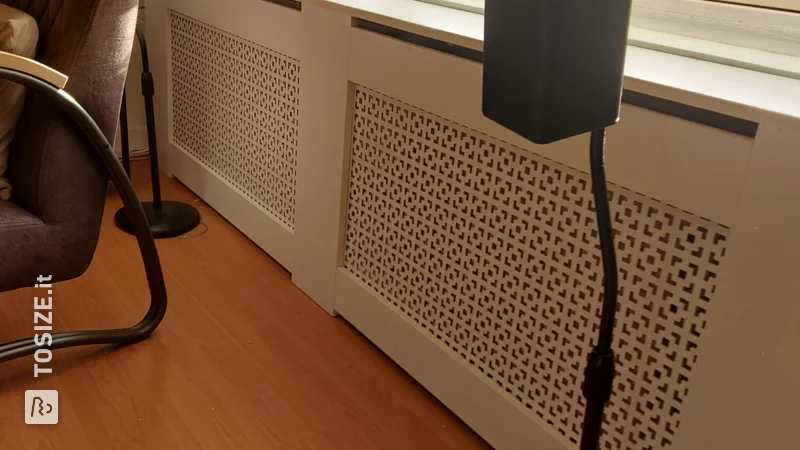
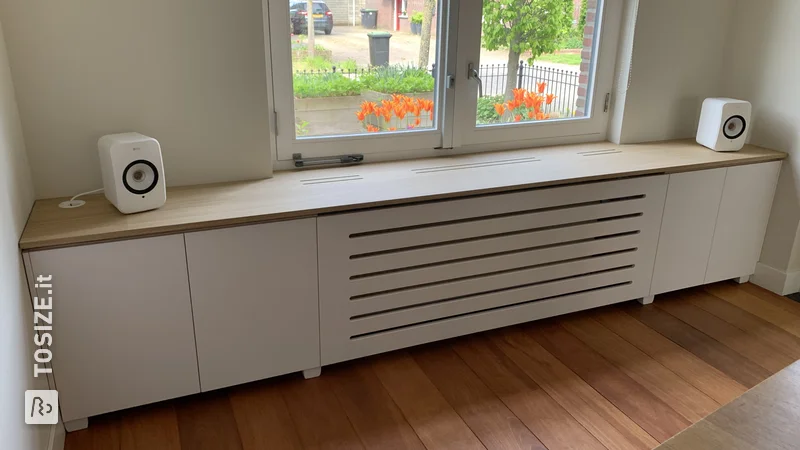
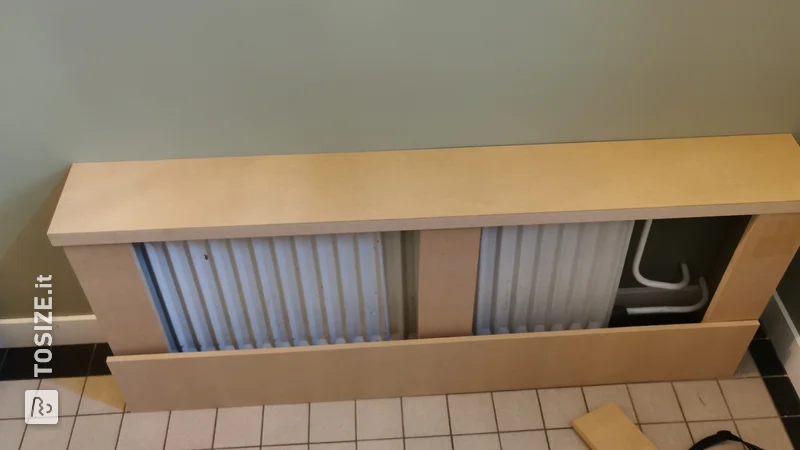
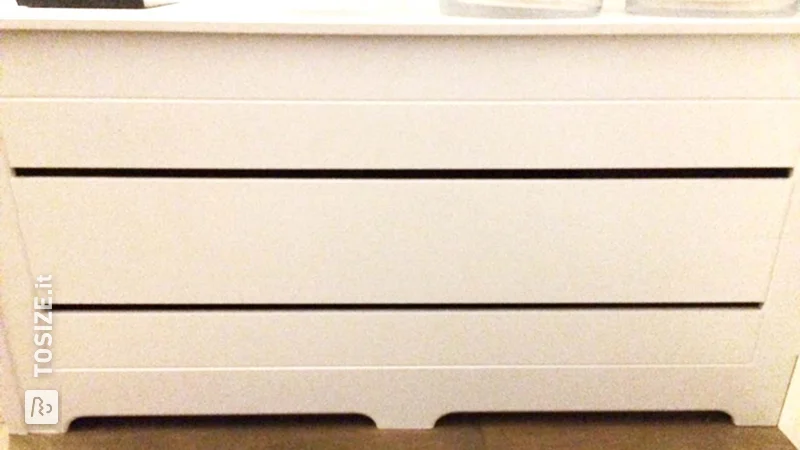
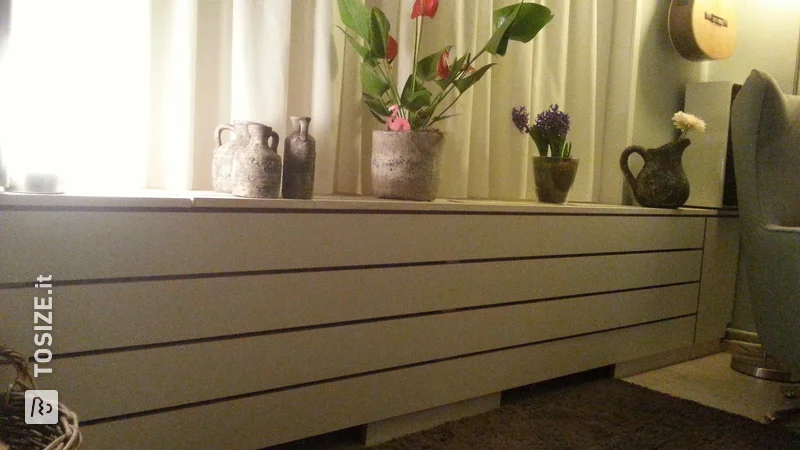
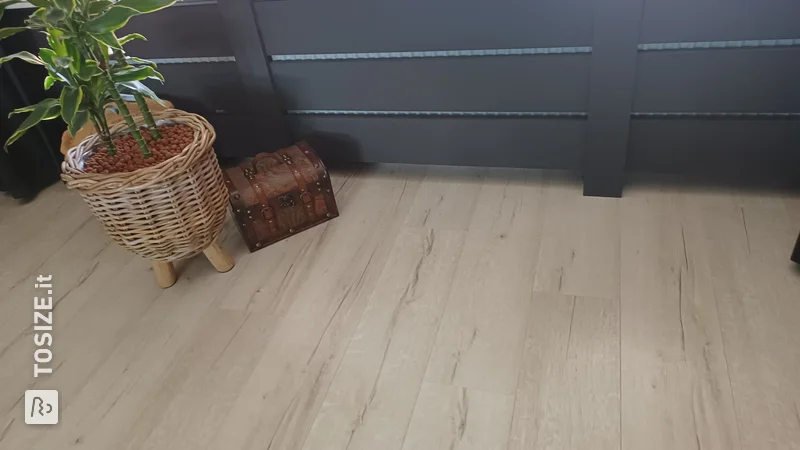
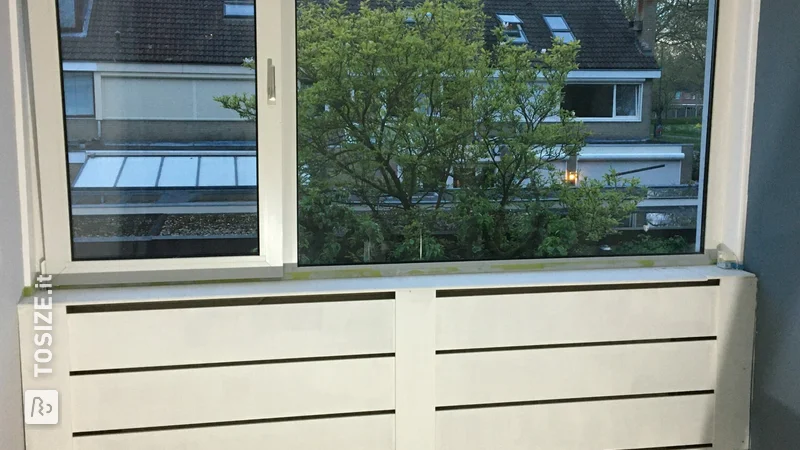
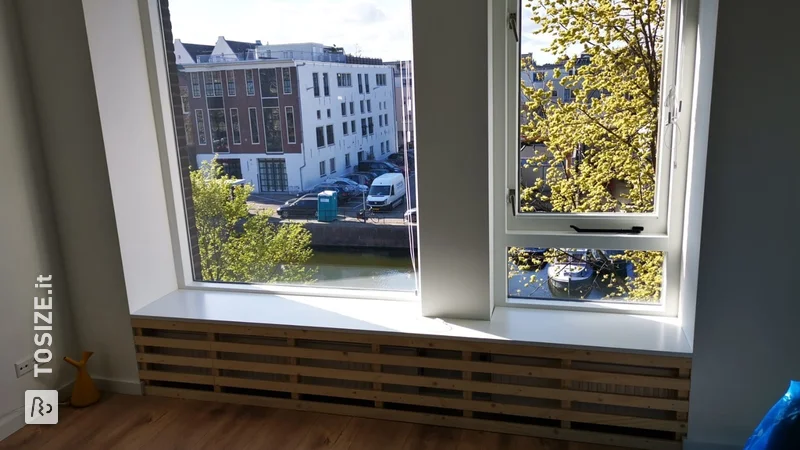
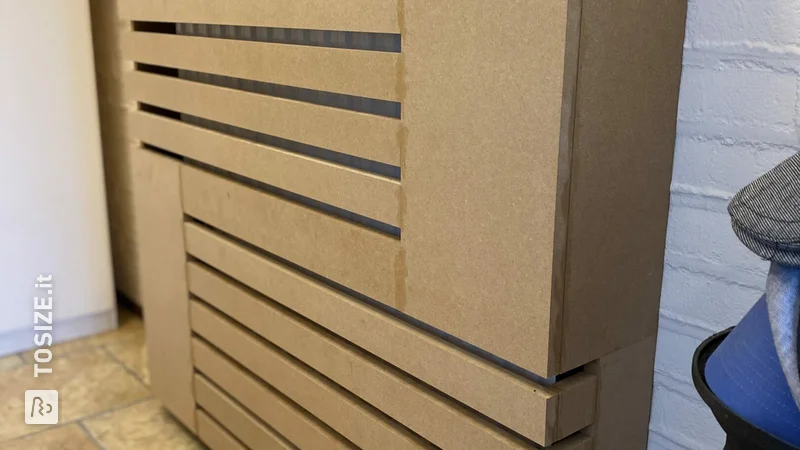
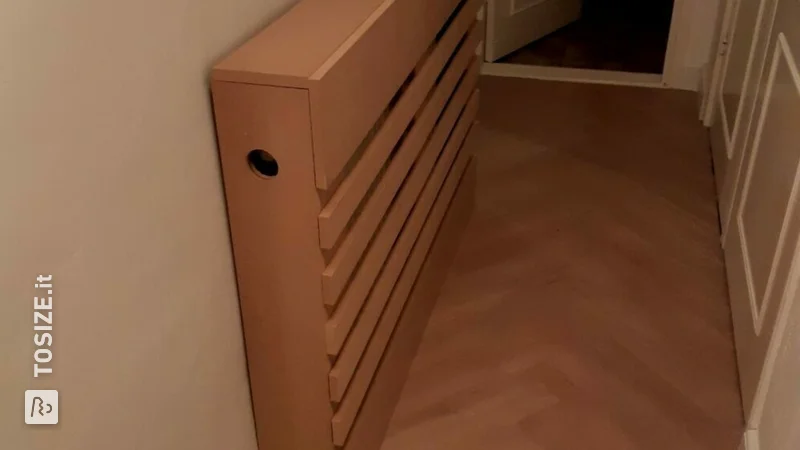
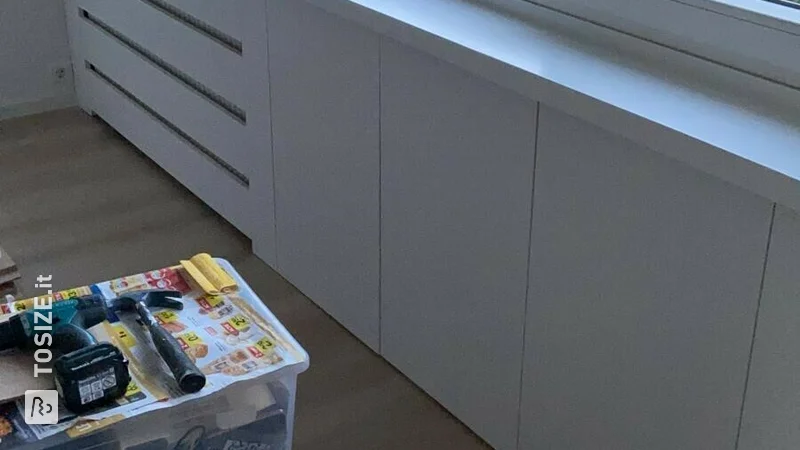
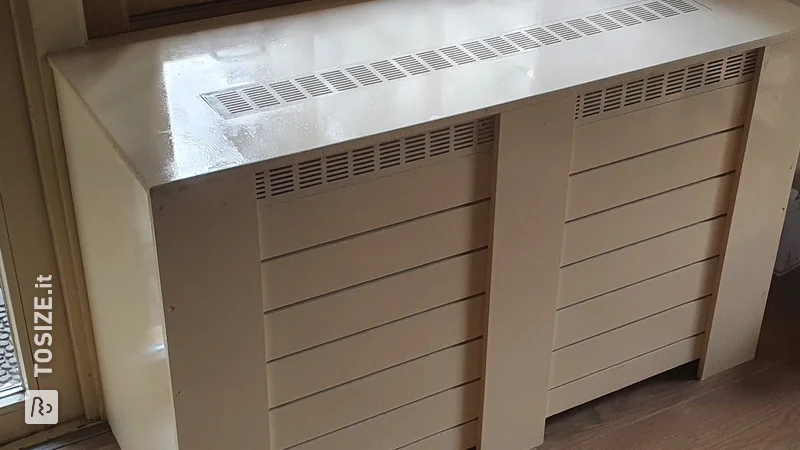
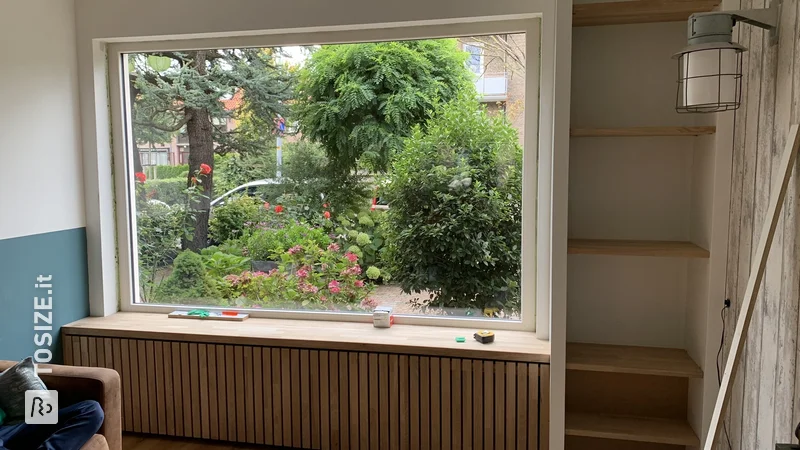
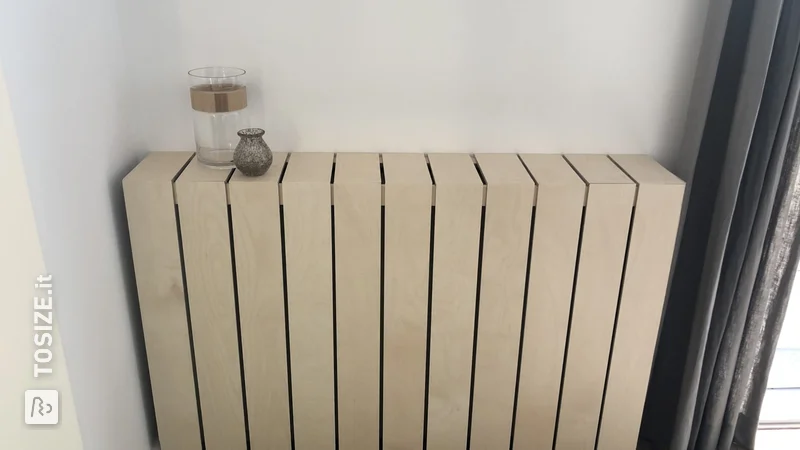
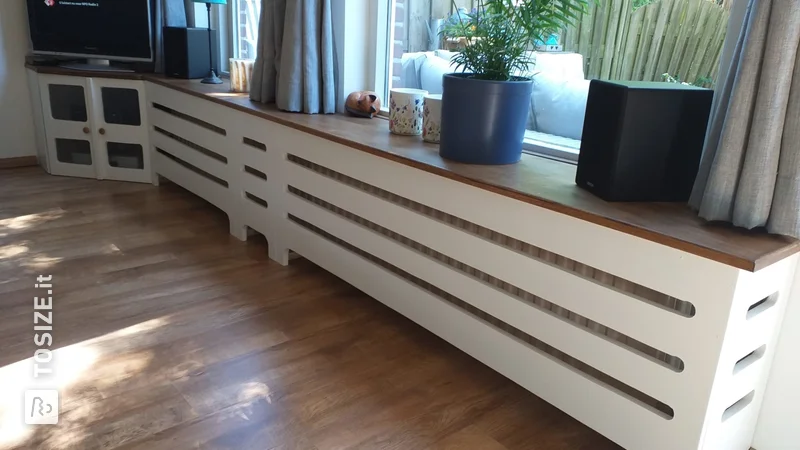
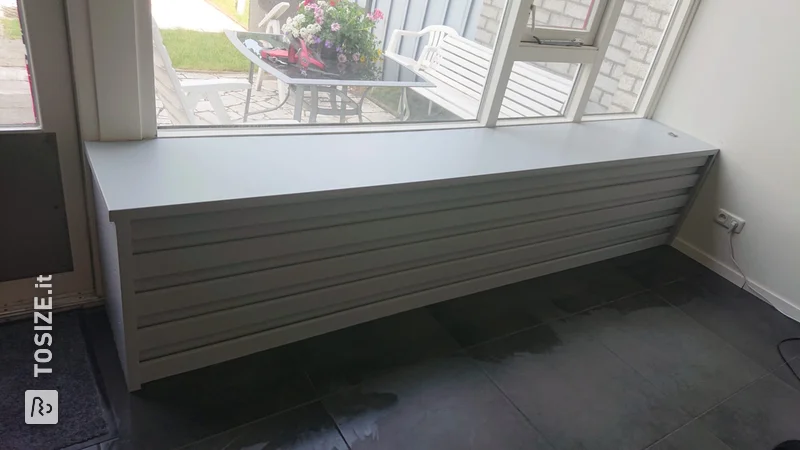
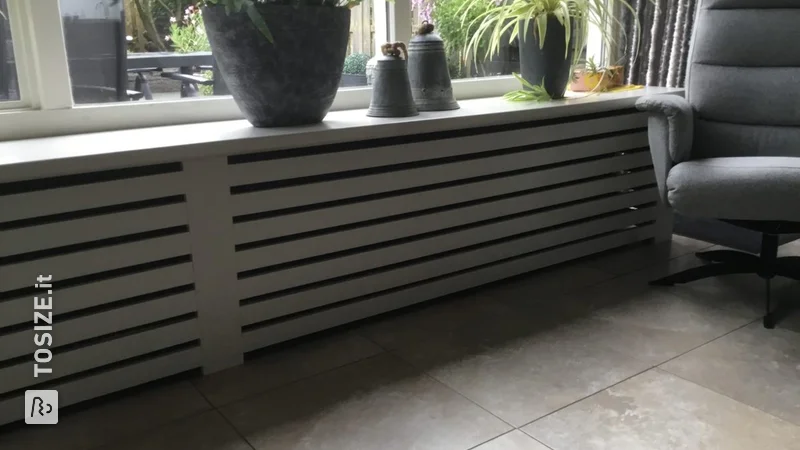
Our old new apartment had old radiators that could not simply be replaced. In addition, two thick pipes ran through our new living room. We wanted to shield the radiators and down pipes. A frame was built from planed spruce. We made vertical uprights on this frame. We have made a small built-in cupboard on the left side. To access the radiator knobs, venting and radiator fans, we have mounted some uprights with magnets. We attached the other uprights with mounting kit. We made the cove that covers the down pipes with a wooden frame of planed pine. We ordered wood that has been mitered from TOSIZE.it. This whole fits together nicely and is glued together. We painted the whole in the color Oxford Stone.
How I made this project
- Dimensions included of the whole
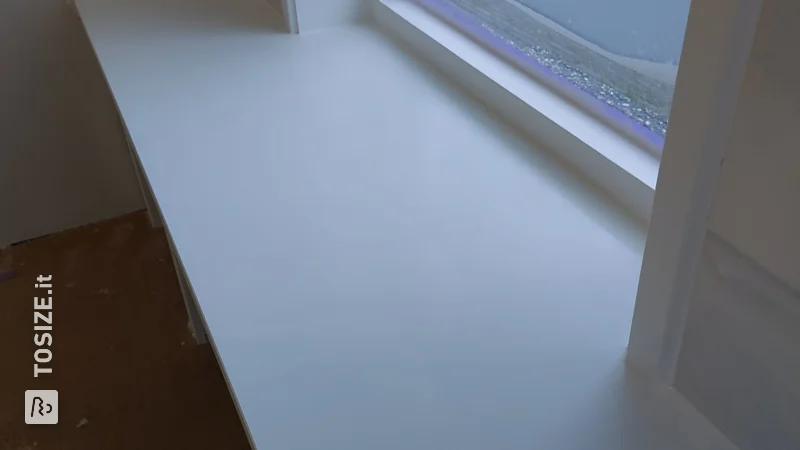
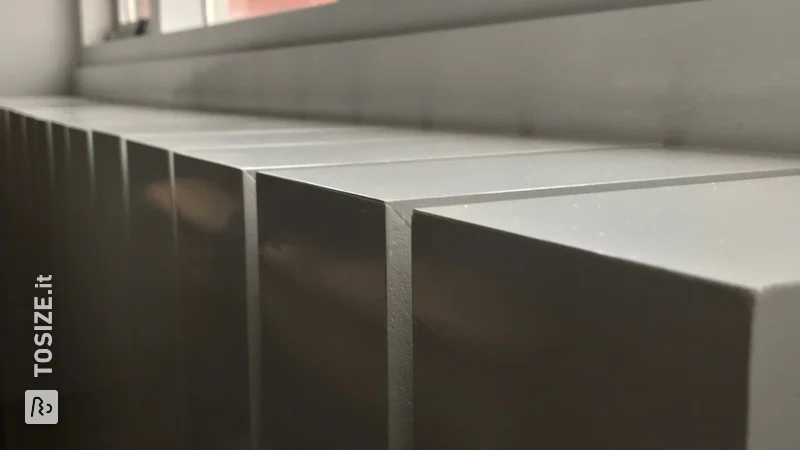
- Sturdy frame built from planed spruce. The window sills are old wagon planks of 60 kg each
- Radiator foil applied
- Radiator fans mounted and connected
- Frame painted black
- Radiator painted black.
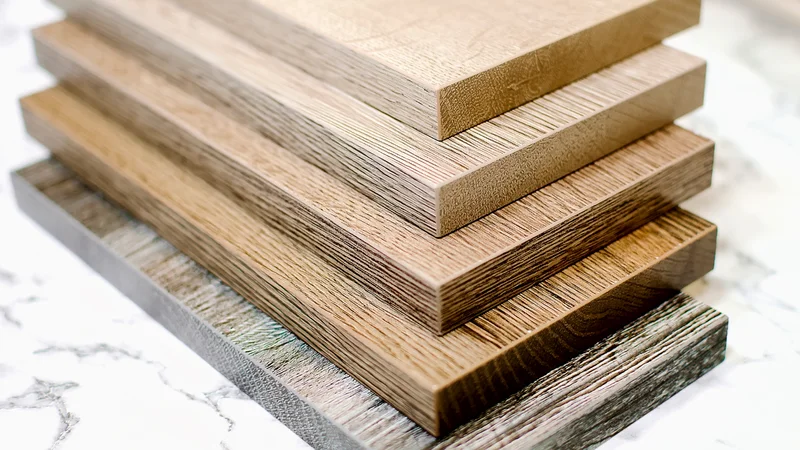
- Wood received and sorted
- Cabinet made on the left
- Magnets fitted
- Vertical uprights fitted
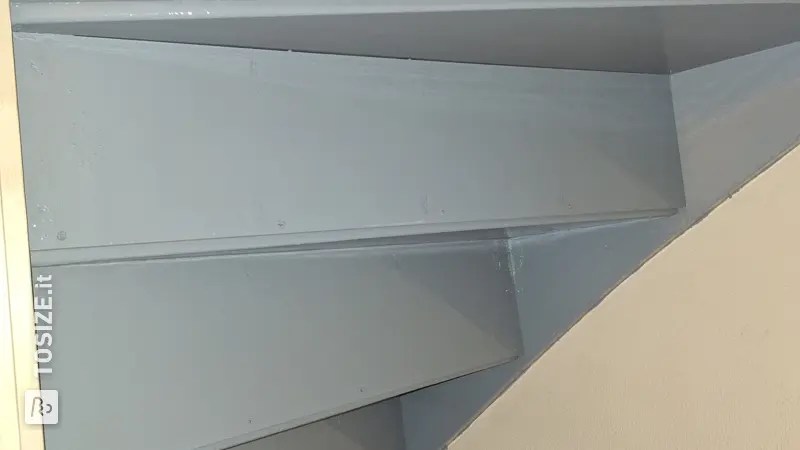
- Frame cove made
- Looking back on the process and results with a smile
Dimensions of my DIY project
Conversion width: 4.91 cm Conversion height: 99 .0 cm Width of uprights: 10.0 cm Distance between uprights on the left: 2.5 cm Distance between uprights on the right: 2.0 cm.
Tip! Also check out our handy DIY tips!
What now?
Want to make this DIY project? Check out Martijn's saw list and complete your order easily.
984,70 €
View all sheet materials